
The Maytag MVWX655DW1 repair manual is a comprehensive guide for troubleshooting and fixing common issues with your washer․ It provides detailed instructions, diagrams, and safety tips to ensure successful DIY repairs․ Whether you’re dealing with leaking, noisy operation, or agitation problems, this manual offers step-by-step solutions to get your appliance running smoothly again․
1․1 Overview of the Maytag MVWX655DW1 Washer Model
The Maytag MVWX655DW1 is a top-loading washing machine designed for efficient laundry cleaning․ It features a large capacity drum, ideal for handling bulky loads․ This model is known for its robust construction and reliability․ Designed to use HE (High Efficiency) detergents, it ensures optimal cleaning with minimal water usage․ Common issues include leaking, noisy operation, and agitation problems․ The washer is equipped with advanced sensors and a user-friendly control panel, making it a popular choice for household use․ Regular maintenance and proper troubleshooting can extend its lifespan and performance․
1․2 Importance of Using the Repair Manual
Using the Maytag MVWX655DW1 repair manual is crucial for safe and effective troubleshooting․ It provides detailed diagnostic steps, parts diagrams, and repair instructions tailored to your specific model․ By following the manual, you can identify and fix issues like leaking, noisy operation, or faulty agitation without causing further damage․ It also helps you avoid costly repairs by empowering you to address problems yourself․ Additionally, the manual includes safety precautions to protect you and your appliance during the repair process․ Regular reference to the manual ensures optimal maintenance and extends the washer’s lifespan․
Identifying Common Issues with the Maytag MVWX655DW1
The Maytag MVWX655DW1 often experiences issues like leaking, noisy operation, and failure to agitate․ These problems can stem from clogged drain pumps or faulty sensors․ The repair manual helps identify and resolve these common issues efficiently․
2․1 Symptoms of a Malfunctioning Washer
A malfunctioning Maytag MVWX655DW1 washer may exhibit symptoms such as improper spinning, loud noises, or failure to agitate․ The agitator might start rapidly and then stop, while the drum struggles to gain speed․ Leaks during cycles or incomplete water drainage are also common issues․ Additionally, the washer may get stuck in the sensing phase or vibrate excessively․ Identifying these symptoms early can help prevent further damage and guide effective repairs․ Always refer to the repair manual for a detailed diagnosis before attempting any fixes․
2․2 Top Symptoms: Leaking, Noisy Operation, and Will Not Agitate
The Maytag MVWX655DW1 washer often exhibits three primary issues: leaking, noisy operation, and failure to agitate․ Leaking may occur due to a damaged tub seal or clogged drain pump․ Noisy operation could result from worn bearings or an unbalanced load․ If the washer will not agitate, the lid lock or main control board might be faulty․ Identifying these symptoms early is crucial for preventing further damage and ensuring efficient repairs․ Always consult the repair manual for specific troubleshooting steps tailored to your washer model․

Troubleshooting Guide for the Maytag MVWX655DW1
This guide helps identify and resolve common issues with your Maytag MVWX655DW1 washer․ Start by checking error codes, unusual noises, or leaks․ Verify power supply and installation․ Consult the manual for diagnostic tests and fault identification․ Replace faulty parts like the drain pump or lid lock if necessary․ Always follow safety precautions and use genuine parts for effective repairs․
3․1 Diagnostic Steps for Identifying Faults
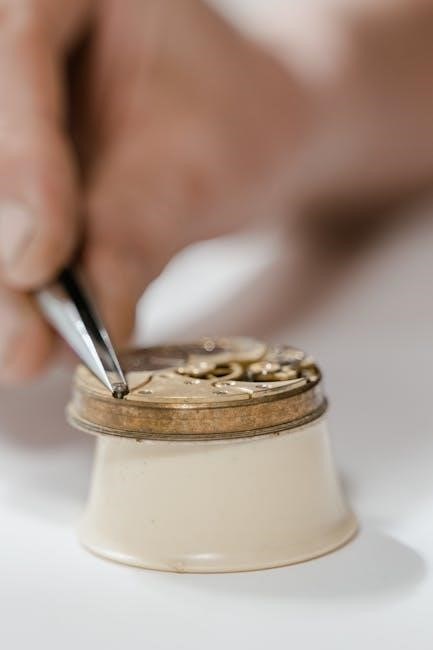
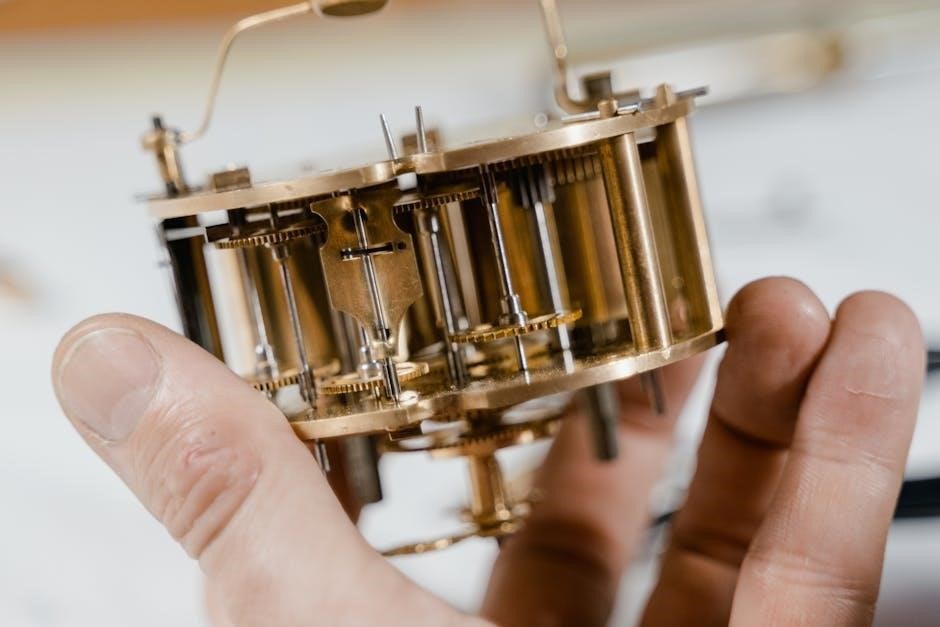
Start by consulting the repair manual and using diagnostic modes or error codes to pinpoint issues․ Check for common faults like a clogged drain pump or faulty lid lock․ Inspect belts, tub bearings, and the drain hose for blockages or damage․ Verify proper detergent usage and ensure the washer is level․ Test the power supply and electrical connections․ If symptoms persist, refer to the manual’s troubleshooting chart for specific solutions․ Always use genuine Maytag parts and follow safety precautions to avoid further damage or injury․
3․2 Common Causes of Issues (e․g․, Clogged Drain Pump, Faulty Lid Lock)
A clogged drain pump is a frequent issue, often caused by debris buildup․ A faulty lid lock can prevent the washer from operating, as it relies on this sensor for safety․ Noises during operation may indicate worn-out bearings or a loose belt․ Leaks often stem from damaged tub seals or detergent drawer issues․ Improper detergent usage can also lead to poor performance․ Regular maintenance, such as cleaning the drain pump filter and checking for blockages, can help prevent these common problems․
Repairing the Maytag MVWX655DW1: Step-by-Step Instructions
Replace faulty parts like the lid lock or drain pump, following manual guidelines․ Refer to diagrams for disassembly and reassembly․ Ensure safety by unplugging the washer first․
4․1 Replacing the Lid Lock Assembly
Replacing the lid lock assembly is a common repair for the Maytag MVWX655DW1․ If the lid lock fails, the washer may not start or stop mid-cycle․ To replace it:
- Purchase the correct OEM replacement part․
- Disconnect power to the washer for safety․
- Access the lid lock by removing the top panel or console․
- Disconnect the electrical connector and remove the old lock․
- Install the new lid lock assembly and reconnect components․
Follow manual instructions carefully to ensure proper installation and functionality․
4․2 Fixing the Drain Pump (Clogged or Faulty)
To fix a clogged or faulty drain pump on the Maytag MVWX655DW1, start by unplugging the washer for safety․ Access the pump by removing the lower panel and drain hose․ Inspect for blockages like debris or lint and clean them out․ If damaged, replace the pump with an OEM part․ Reassemble carefully, ensuring all connections are secure․ Test the washer to confirm proper drainage and function․ Regular maintenance, like checking and cleaning the pump, can prevent future issues and ensure optimal performance․
4․3 Replacing the Main Control Board
To replace the main control board on the Maytag MVWX655DW1, start by unplugging the washer for safety․ Remove the top panel or back access panel to locate the control board․ Disconnect all wiring connectors carefully and remove the mounting screws․ Install the new OEM control board, ensuring proper alignment and secure fastening․ Reconnect the wiring connectors precisely as they were originally․ Replace the panel and plug in the washer․ Test the washer to confirm the issue is resolved․ Using an OEM part ensures compatibility and proper functionality․
Understanding the Maytag MVWX655DW1 Repair Manual
The repair manual is a detailed guide for diagnosing and fixing issues with the Maytag MVWX655DW1 washer․ It includes safety precautions, part diagrams, and troubleshooting steps to help users identify and resolve problems effectively․
5․1 Navigating the Manual: Safety Precautions and Warnings
Navigating the Maytag MVWX655DW1 repair manual requires attention to safety precautions and warnings․ Always disconnect power before starting repairs․ Wear protective gloves and eyewear․ Never bypass safety features like the lid lock․ Follow instructions carefully to avoid injury or further damage․ Improper repairs can lead to serious hazards․ Ensure all components are properly grounded․ Refer to the manual for specific warnings related to electrical, chemical, and mechanical risks․ Adhering to these guidelines ensures safe and effective repairs, preventing accidents and prolonging the washer’s lifespan․
5․2 Locating Parts and Diagrams in the Manual
The Maytag MVWX655DW1 repair manual provides detailed parts lists and diagrams to help identify components․ Use the model number to locate specific sections․ Diagrams are labeled clearly, showing assembly and disassembly steps․ Look for exploded views to understand part relationships․ The manual also includes a parts list with OEM numbers for easy ordering․ Visual guides help pinpoint common replacement parts, such as the lid lock or drain pump․ Refer to the index for quick access to diagrams and part descriptions, ensuring accurate identification and efficient repairs․
Maintenance Tips to Prevent Future Issues
Regularly clean the washer interior and gasket to prevent mold․ Check and clear drain hoses monthly․ Use HE detergents correctly to avoid residue buildup and ensure optimal performance․
6․1 Regular Cleaning and Inspection of the Washer
Regular cleaning and inspection are crucial for maintaining your Maytag MVWX655DW1 washer․ Run a cleaning cycle monthly with a washer cleaner to remove detergent residue and odors․ Check the gasket and seals for mold or mildew and wipe them clean․ Inspect the drain pump filter regularly to ensure it’s free of debris․ Additionally, ensure the washer is properly balanced to prevent vibration issues during cycles․ Regular maintenance helps prevent breakdowns and keeps your washer functioning efficiently for years to come․
6․2 Using HE Detergents Correctly
The Maytag MVWX655DW1 washer requires High Efficiency (HE) detergents for optimal performance․ Using HE detergents ensures proper cleaning without excessive foam, which can damage the machine․ Non-HE detergents can cause poor drainage and leave residue․ Always measure detergent according to the manual’s guidelines to avoid overuse․ For best results, use detergents designed for your washer’s specific needs․ Proper detergent usage helps maintain efficiency, prevents issues, and extends the lifespan of your Maytag washer․
Downloading and Using the Maytag MVWX655DW1 Manual
The Maytag MVWX655DW1 manual can be downloaded from official sources like Maytag․com or platforms like Fix․com․ It provides detailed instructions, diagrams, and troubleshooting guides for easy reference․
7․1 How to Download the Manual from Official Sources
Downloading the Maytag MVWX655DW1 manual is straightforward․ Visit the official Maytag website or trusted platforms like Fix․com․ Enter the model number, MVWX655DW1, and follow the prompts to access the manual․ Ensure you select the correct format, such as PDF, for easy viewing․ Save or print the document for future reference․ Always verify the source’s authenticity to ensure you’re getting the correct and updated version of the manual․
7․2 Printing and Referencing the Manual
Print the Maytag MVWX655DW1 manual on high-quality paper for clear readability․ Ensure your printer settings match the document’s dimensions to preserve formatting․ Organize the manual in a binder or folder for easy access․ When referencing, use bookmarks or tabs to quickly locate sections like troubleshooting guides or repair instructions․ Always review the safety precautions and diagrams before starting any repair․ This organized approach will help you navigate and apply the manual’s guidance effectively during maintenance or fixes․
Additional Resources for Repair and Maintenance
Explore online repair guides, videos, and expert advice for Maytag MVWX655DW1․ Visit Fix․com for OEM parts, diagrams, and detailed repair instructions to support your DIY efforts effectively․
8․1 Online Repair Guides and Videos
Online repair guides and videos provide detailed step-by-step instructions for fixing your Maytag MVWX655DW1 washer․ Websites like Fix․com and Maytag’s official resources offer symptom-based troubleshooting, repair tutorials, and part diagrams․ YouTube videos demonstrate common fixes, such as replacing the lid lock or drain pump․ These resources are ideal for DIY enthusiasts, offering visual and written guidance to address issues like noisy operation or leaking․ They often include lists of required tools and parts, ensuring you’re well-prepared to tackle repairs confidently and efficiently․ Utilize these tools to diagnose and resolve problems effectively․
8․2 OEM Parts and Tools for DIY Repairs
For successful DIY repairs on your Maytag MVWX655DW1 washer, use OEM parts to ensure compatibility and durability․ Genuine Maytag parts, such as lid locks, drain pumps, and control boards, are designed to meet factory specifications․ Tools like screwdrivers, pliers, and wrenches are essential for disassembly and reassembly․ Websites like Fix․com and Maytag’s official parts store offer authentic components and detailed diagrams․ Investing in OEM parts and proper tools guarantees a reliable repair, extending your washer’s lifespan and maintaining its performance․ Always refer to your repair manual for specific part numbers and tool recommendations․
Empower yourself to tackle repairs confidently with the Maytag MVWX655DW1 manual․ Regular maintenance and DIY fixes will keep your washer efficient and extend its lifespan effectively․
9․1 Final Tips for Successful Repairs
For successful repairs, always unplug the washer before starting work․ Refer to the manual for specific instructions and safety guidelines․ Use genuine OEM parts to ensure compatibility and durability․ After completing repairs, run a test cycle to verify functionality․ Regular maintenance, such as cleaning filters and checking drain hoses, can prevent future issues․ If unsure, consult online guides or seek professional assistance․ DIY repairs can save time and money, but safety and precision are key to avoiding further damage․ Keep the manual handy for future reference and troubleshooting․
9․2 Encouragement to Attempt DIY Fixes
Attempting DIY fixes for your Maytag MVWX655DW1 washer can save time and money while giving you a sense of accomplishment․ With the repair manual and online resources, you’ll find clear instructions and troubleshooting guides․ Replacing parts like the lid lock or drain pump is manageable with basic tools․ Don’t hesitate to explore step-by-step tutorials and videos for guidance․ Troubleshooting common issues like leaks or noise can often resolve problems quickly․ Remember, DIY repairs empower you to maintain your appliance effectively and extend its lifespan․ Take the initiative and confidently tackle repairs with the support of your manual and online resources!